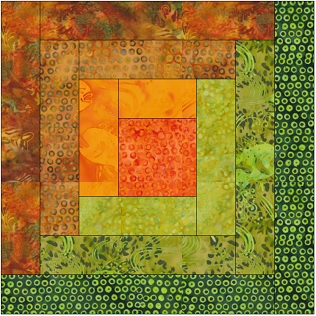
  For this block you will need a color for the center block, and 6 (or 12) other fabrics. I prefer the traditional log cabin block, with each side of the block being different shades of the same color. But you can certainly be untraditional if you wish, see the bottom of this page. |
|
For one log cabin block you need a 3 1/2 inch center square, and strips cut 2 inches wide from your chosen colors. I don't precut my strips, but trim them as I go along. (Quite often my log cabin blocks are made from left over strips from other projects.) If you prefer precutting your strips, below are the sizes you will need:
Light strips: 3 1/2 inches, 5 inches, 6 1/2 inches, 8 inches, 9 1/2 inches, 11 inches
Dark strips: 5 inches, 6 1/2 inches, 8 inches, 9 1/2 inches, 11 inches, 12 1/2 inches
I add my strips clockwise (on the wrong side), but either way is fine. What is important is that you continue in the same direction for the whole block. And if you are making a whole log cabin quilt, make sure that all your blocks go in the same direction.
Another thing about the log cabin block; if you start with a light strip, the block will be predominantly dark. And if you start with a dark strip, the block will be predominantly light.
For this sample I will be using six colors. I will use each color twice around the center square, starting with the lightest and going darker as I go around.
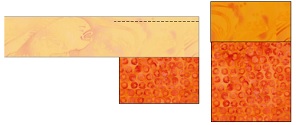
| Here is the center square, a 3 1/2 inch square, with the first strip added face down. You sew a 1/4 inch seam allowance, then press to the center square. Notice how you will go around the whole center square. |
 |
And now the second strip is added | 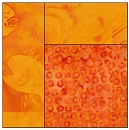 |
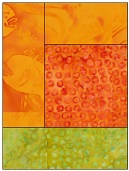 |
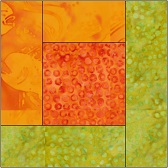 |
The first round is complete, and it should measure 6 1/2 inches square. |
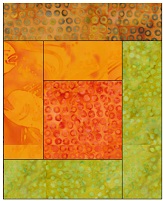
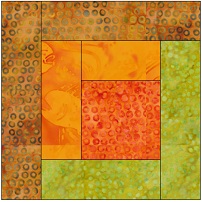
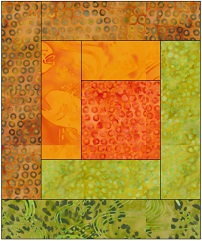
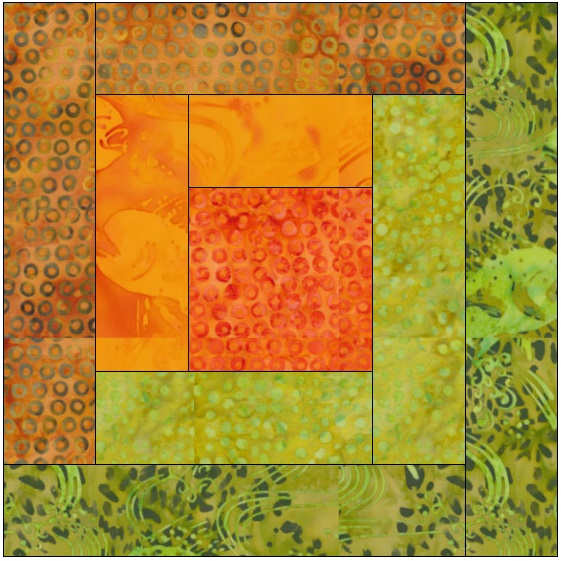
Second round completed should measure 9 1/2 inches.
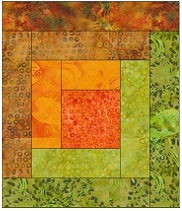
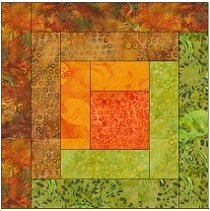
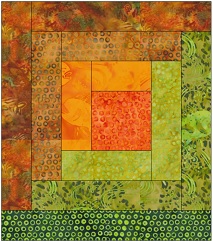

|
Your Log Cabin block is finished and should measure 12 1/2 inches. |
In the diagram above I used each color twice. You can also use 12 colors, six different lights and six different darks. The choice is completely up to you. Here are examples of different log cabin blocks.
six pinks, and a bright red for the center block. 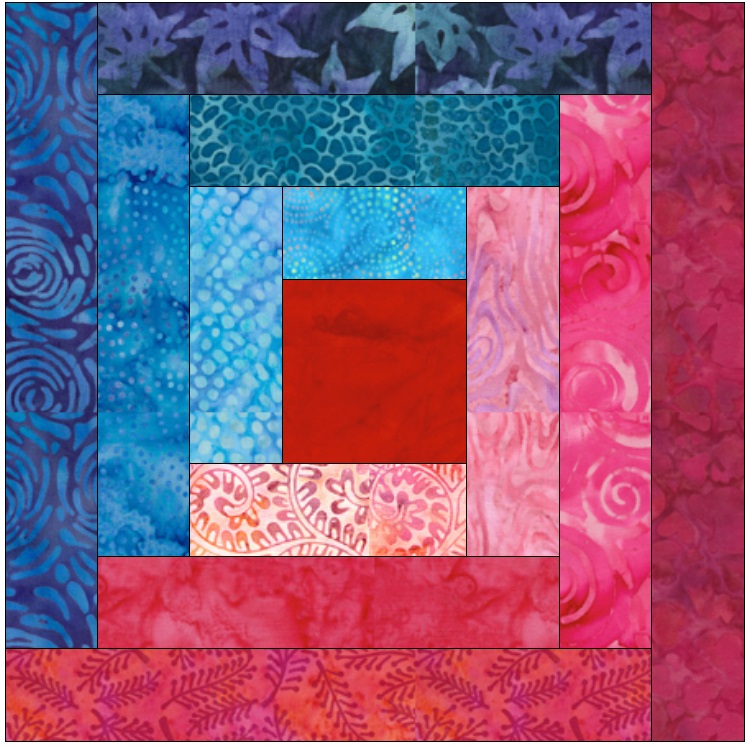 |
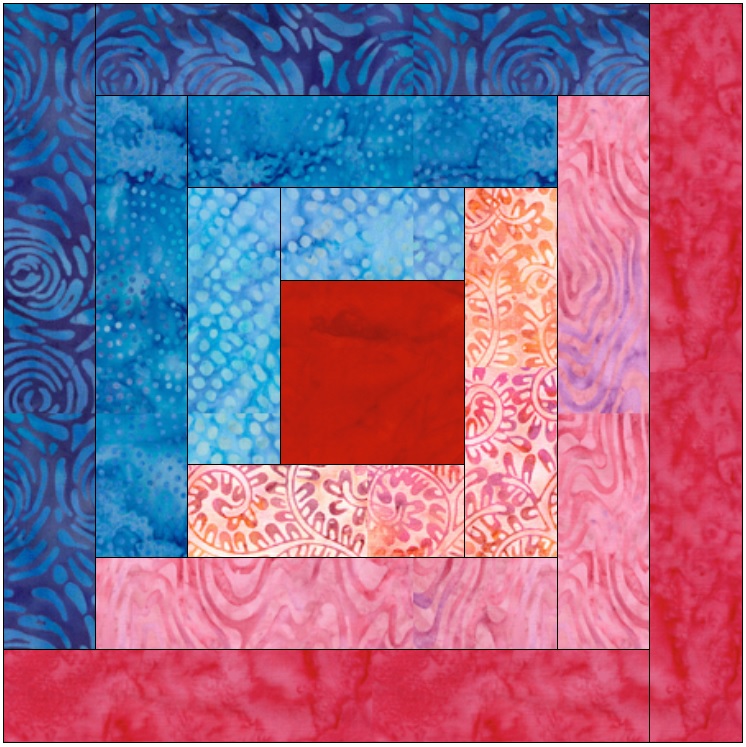 |
each side with a third purple as the center square. 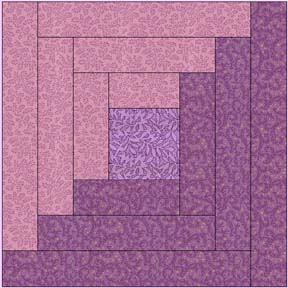 |
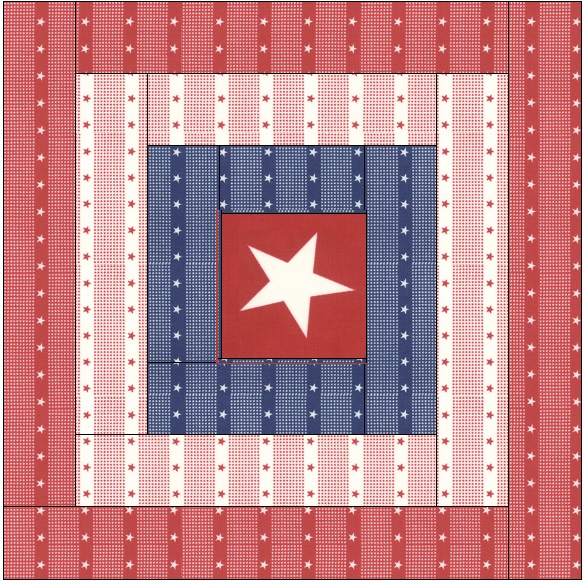 |
Here are some log cabin quilts I have made using several different log cabin techniques.
without the owner's permission. This includes the patterns as well as any graphics and/or instructions that are associated with a pattern.
The content on these pages, including text and images are the sole property of the Delaware Quilts and may not be used in any manner without consent. All Rights Reserved.
Updated October 15, 2025
|Home| Quilts| Email|