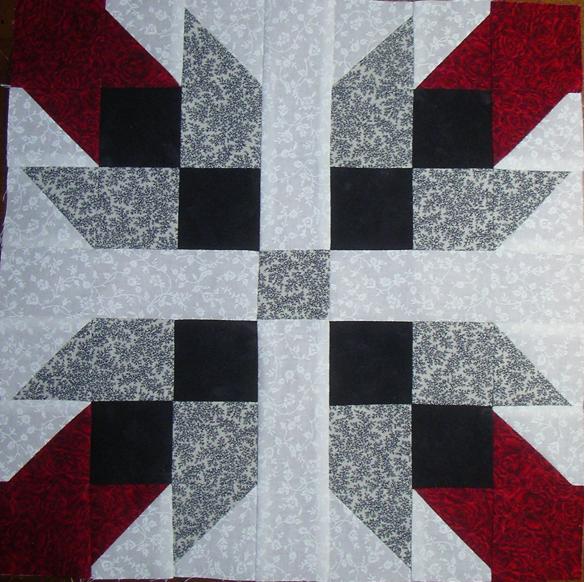

Rosebud
For a 12 1/2 inch Rosebud block you need:
Four 2 1/4 inch squares and four 2 5/8 inch squares of the red
Eight 2 1/4 inch squares, four 2 5/8 inch squares and one 2 inch square of the print
Eight 2 5/8 inch squares of the white-on-white
Eight 2 1/4 inch squares of the black
For the center strips you need four 5 3/4 by 2 inch strips of the white-on-white
|
|
 |
First we will make the diagonal half squares (DHS) or half square triangles, which ever you prefer calling them. You can use which ever technique you want to make them, but this is my favorite.
 First, mark your white-on-white squares diagonally through the center. (This will be a cutting line when you are finished.) Place a red 2 5/8 inch square, right sides together with one of the 2 5/8 inch marked white-on-white square. Sew on either side of the drawn line, exactly 1/4 inch from the first line. Cut this square in half on the cutting line. Press them all to the darkest fabric, in this case red. You will now have two diagonal half-squares, which should measure exactly 2 1/4 inches. Repeat with the remaining 2 5/8 inch squares. Press all DHSs to the darker fabric, away from the white-on-white.
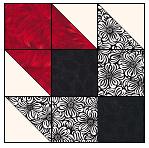
Make four units like this,  and four like this
and four like this. 
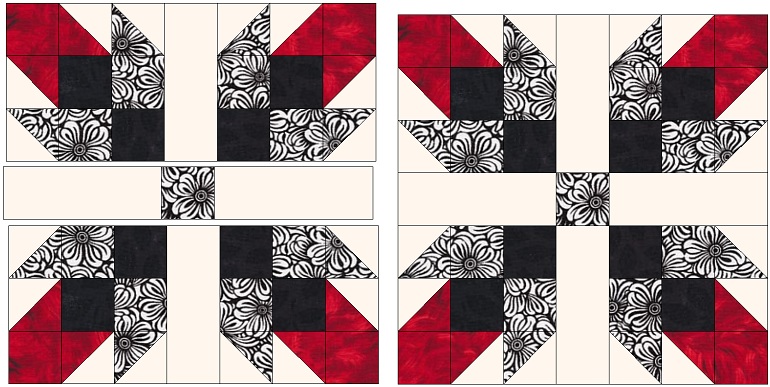
Now sew those together into four units which look like this. 
Sew together the middle row

Assemble following the diagram.
Your Rosebud block should measure 12 1/2 inches.
|
 |
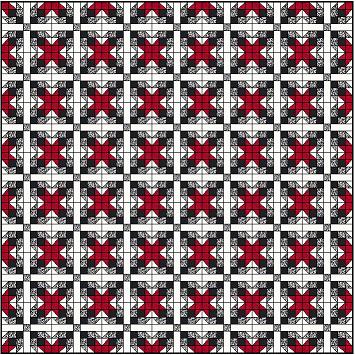
I think it makes a pretty quilt all by itself.

Rosebud © Delaware Quilts December 2010
The content on these pages, including text and images are the sole property of the Delaware Quilts and may not be used or reproduced in any manner without consent. All Rights Reserved.
Updated June 8, 2020
|Home|
Quilts|
Email|
|


 and four like this


