There are several different ways to make diagonal half squares when you need a lot of the same ones from the same two fabrics. Hopefully one of these methods will be the right one for you.
Method D:
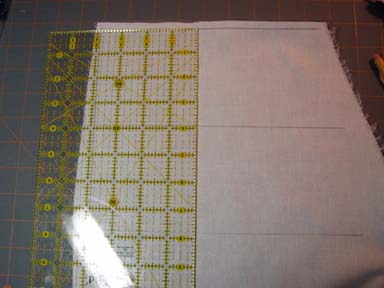
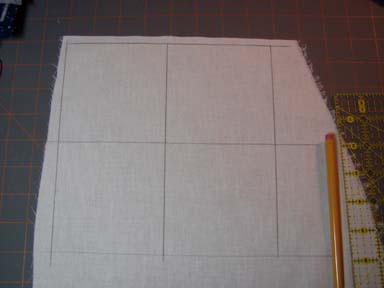
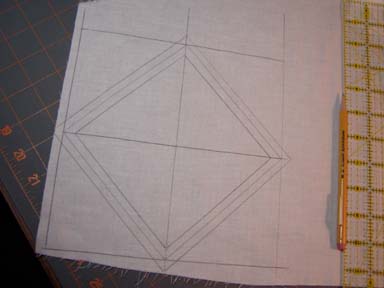
First you need to draw a grid of squares on your fabric. (I'm using 3 7/8 inch squares, which fits the camera better.)
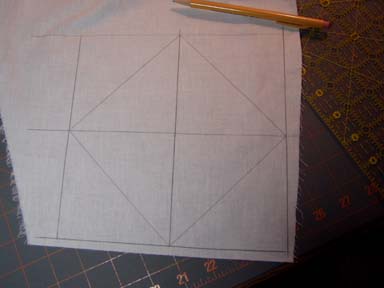
Draw diagonal lines through alternating squares in one direction, and then the other, so that each square has one diagonal line through it. These lines will be your cutting lines, so you may use a pencil to mark them if you wish.
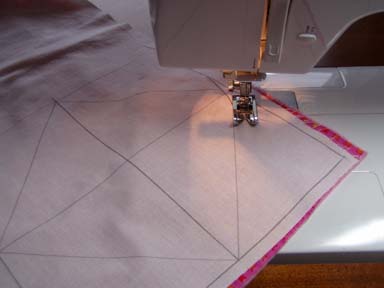
You will of course be sewing two pieces of fabric together, but you only need to mark one. Place the two fabrics right sides together, and press.
Next step is to sew, using a 1/4 inch seam allowance on all sides of the diagonal lines.
If you do not have a true 1/4 inch foot, you can mark these lines. Mark 1/4 inch on both sides of the diagonal lines. These lines will be your sewing lines.
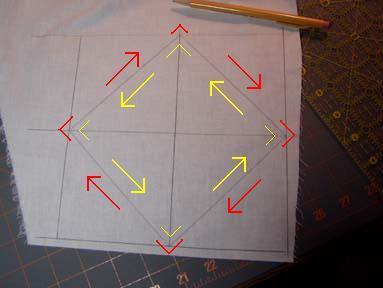
On this diagram the red and yellow lines show you that you can sew this in one continuous line.
Start on a corner and sew to the outside of the grid on the next corner, put the needle down, and pivot, then continue sewing. If you follow the directions of the red and yellow arrows, it can be done in one continuous line of sewing.
When they are all sewn, cut them up into squares on the first grid lines you drew. Finish by cutting down the middle of the square on the diagonal lines you drew, and press.
Method E:
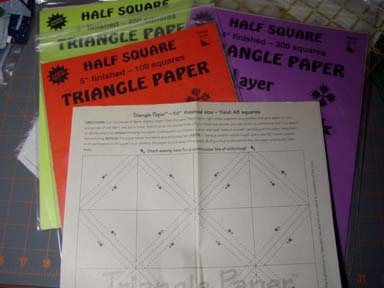
Another method for making a lot of daigonal half squares is the paper pattern method. This is a little less work than the grid method, since the work is done for you, and it gives you the same results. There are several different papers on the market for making diagonal half squares, most quilt shops carry one or the other. Of course you can find them all on line.
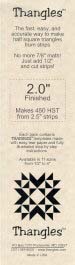
Thangles™
Sew Easy Triangles (fusible)
Triangles on a Roll
Just be sure you read carefully the paper pattern, and know what "finished" size you will end up with. Remember a finished square is when it is completely finished, sewn into the quilt, not the size the square will be when you are finished sewing the two triangles together. Some paper patterns give you both sizes, the finished size and the unfinished size. Know what size you need!
For the paper method, press your two fabrics, right side together. Pin the paper on top, and sew away. Follow the arrows if given. If you need fewer squares than on a sheet, cut them up!
I have personally used Triangle Paper, Triangles on a Roll, and Thangles . (And that is the order I like them in.)
Method F:
There are also a variety of rulers on the market to help you make perfect diagonal half squares. There are so many, that I am not going to explain each one. I have heard good and bad things about all of them, and truly believe that it is up to the individual as to what will work for them.
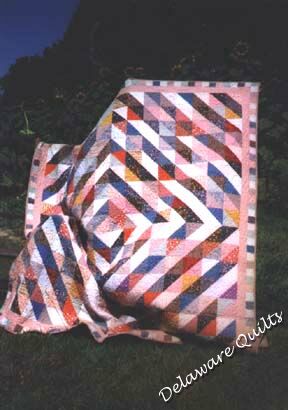
Kaye Wood used to teach using bias cut strips sewn into tubes to make diagonal half squares. I have used this method and liked it. The quilt on the left was made using that bias tube method. This method requires a special ruler, Starmaker 8, which was available on line and may still be found on some sewing sites. (If you do not have the Starmaker 8, you can use the Omnigrid #96 if you are careful.)
I laid fabrics right sides together and cut the bias strips from them in one step. Next I sewed both edges of the strips together, creating the tube. Then I used the Starmaker 8 ruler to cut the diagonal half squares from that tube, flipping the ruler back and forth to cut from both sides.
This quilt was made from scraps, and I used other methods to make my diagonal squares from the smaller pieces of the scraps. Because I knew what my finished (and unfinished) diagonal half squares were to be, it was easy for me to use the method that fit the size of fabric scrap I was trying to use up.
On all methods be sure to trim off the corners, or the "dog ears" so that your squares are truly squares, and don't have any extras sticking out. Before pressing the squares open, trim the tips at an angle, beginning at the edge where the stitching stops. You can trim with scissors or a rotary cutter, just be careful not to cut your stitching.
The content on these pages, including text and images are the sole property of the Delaware Quilts and may not be used or reproduced in any manner without consent. All Rights Reserved.


 Thangles™

 Triangles on a Roll
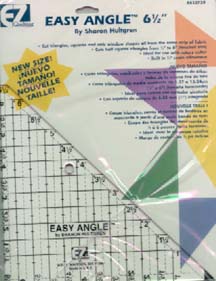 Easy Angle
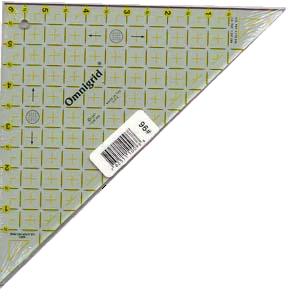 Omnigrid # 96
 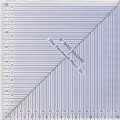 Bias Square Rulers
 Wonder Cut Ruler